

DIY & DECORATING
Give a plain wall a little character.
Panelling can add rhythm and detail to a room you already enjoy. Choose a style, mark out the proportions and plan the measurements before ordering materials.
Practical ideas, clear measurements and a little help getting started.
- Compare the styles
- Sketch the wall and its obstacles
- Check the layout before cutting
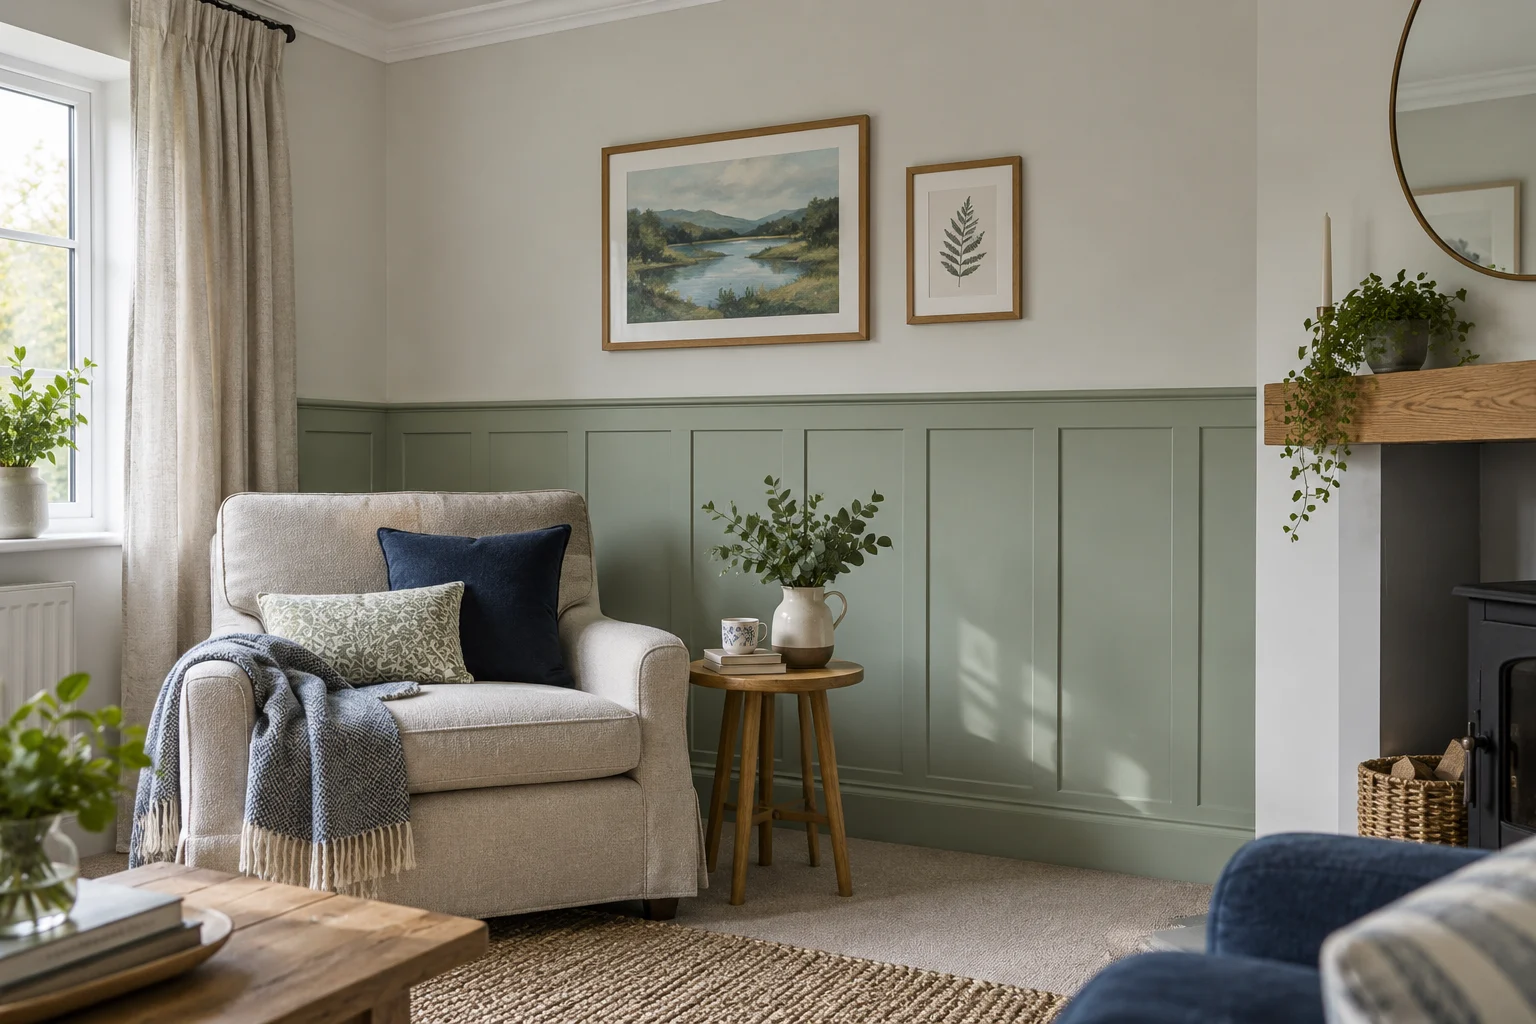
Find a style that suits the room
| Style | The look | Planning detail |
|---|---|---|
| Shaker-style strips | A grid of plain rectangular or square openings. | Balance the clear openings and the strip widths. Our calculator covers one row of equal rectangles. |
| Decorative moulding frames | Fine frames for a more traditional wall detail. | Plan frame sizes, gaps and corners; this is a different cutting list from a strip grid. |
| Tongue-and-groove or grooved sheets | A repeated lined surface, often across a lower wall. | Check sheet or board coverage, joint positions and how the edges finish. |
| Slatted panels | A repeated vertical texture. | Check complete panel dimensions and cutting requirements. Do not assume decorative panels provide a tested acoustic result. |
Tape out the proportions first
Measure the usable width of the wall and the height you want to cover, taking the skirting and any top rail into account. Try the layout with removable tape that is suitable for your wall finish. Stand back from the doorway and check how it looks with furniture in place.
Mark sockets, switches, radiators and doors on the sketch. A mathematically equal pattern may still need changing to avoid a tiny opening or an awkward join. Decide how the first and last vertical strips meet corners and door trims.
Choose materials for the actual wall
Look at the supplier’s material, thickness, moisture suitability, fixing method and finishing instructions. A decorative strip applied to a wall and a full backing sheet are different jobs. Check how the edges, joints and the top of the panelled section will finish.
Do not use panelling to hide a damp or failing surface. Deal with the cause first. For a kitchen, bathroom or cold external wall, ask about the specific product’s suitability and avoid assuming that moisture-resistant means waterproof.
What belongs on the shopping list?
- Panel material or strips, with the right thickness and face width.
- Any backing sheets, top rail, edge trim or corner details in your chosen design.
- Compatible adhesive and any mechanical fixings required by the supplier.
- Suitable filler, primer and finish, including the steps needed for cut edges.
- Measuring, levelling and cutting equipment, plus the dust controls and protection the task requires.
A cutting list is a starting point
Our panelling calculator estimates equal openings and strips for a simple layout. It does not account for sockets, uneven walls, sheet backing or your saw’s cutting allowance. Check every actual wall and each cut before ordering or making a cut.
Prepare for a neat finish
Make the surface clean, dry and sound. Dry-fit the layout, check level lines and follow the chosen system’s fixing instructions. Adhesive, supports and drying times vary, so use the supplier’s directions rather than a generic timing promise.
Before drilling or fixing, check for concealed services. Leave electrical fitting changes to a qualified electrician. Cutting or sanding wood and MDF produces dust: consider pre-cut materials and follow HSE guidance on appropriate dust controls and protection.
Keep your project moving
Want to see how the spacing works?
Enter the width, panel height, strip width and number of openings to sketch a simple layout.
Prefer someone to fit it? Find carpentry and joinery help and explain the design and preparation you want included.
Reviewed 2 October 2026. These guides provide general project information. Follow the instructions for the products you choose and ask a suitable tradesperson when the work needs specialist skills.